

After my first hackathon (Clerk x Hashnode Hackathon July 2021) was quite a success, I soon decided to take my chance again and participate in another hackathon. I was curious to see how far I would get if I started coding right away and had the full 4 weeks to create a project.
This time I wanted to go deeper, implement more features, and make the project more professional than my first. I spent a lot of time creating this project and I'm pretty proud of the result. Let me tell you more about my journey in the last 4 weeks.
Contents
- About the project
- Tech stack and Usage
- Coding the app
- Code and live view
- Problems
- Achievements
- Overall reflections
About the project
When I studied Japanese at the University of Vienna, learning apps like Anki or WaniKani helped me a lot to learn all these Japanese characters called kanji. They were fun, and WaniKani in particular had this great look that you would call "kawaii" (cute) in Japanese.
But like most students, I really struggled with grammar. When I asked the Senseis (professors) and Senpais (older students) for help, they all made the same suggestion: write a journal about your daily experiences in Japanese and you'll see your skills improve.
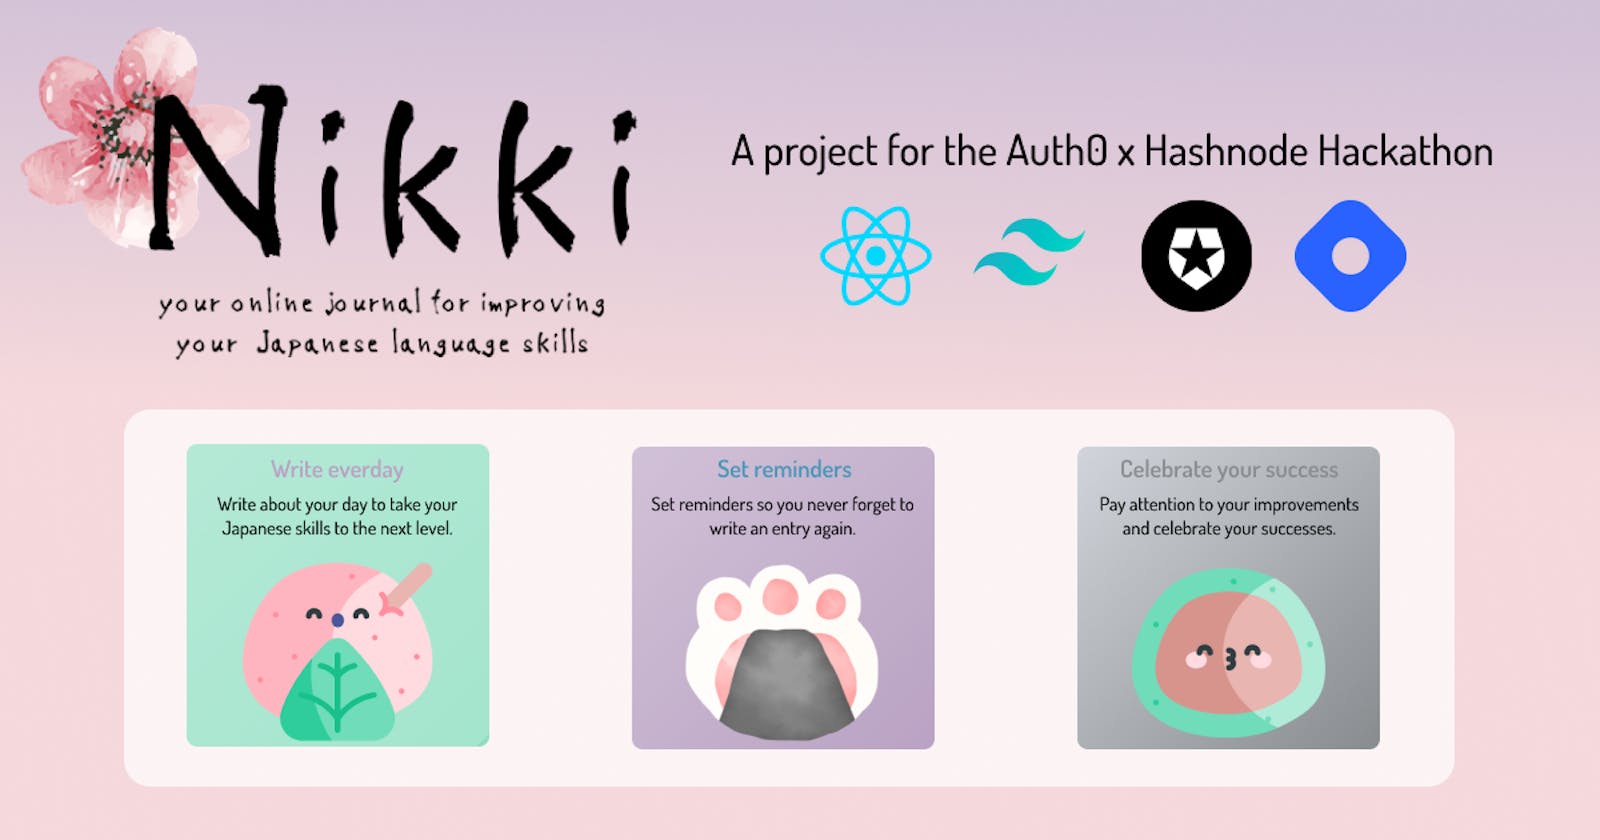
But instead of writing by hand, I thought of creating a "kawaii" web app where Japanese students can write down their daily experiences to improve their skills. I named it Nikki, which means diary in Japanese.
Tech stack and Usage
With the app, users can write down their thoughts and feelings to improve their language skills. Depending on the experience, the app can be used in both English and Japanese. Users can add reminders to never forget to write an entry. A daily changing quote helps users stay motivated while working on their progress. The app is primarily intended for use on a computer or laptop.
The app was created using Create-React-App.
TailwindCSS was used for styling the app.
Auth0, an easy-to-implement, customizable authentication, and authorization platform, allows the user to securely log in to the app. The user's content is currently stored in local storage.
To ensure code quality, I used linters such as ESlint and Prettier.
Coding the app
Many things you will see in this code I implemented and used for the first time without a tutorial. CRUD (create, read, update, delete), fetchAPI (use data from a third party), contextAPI (use data throughout the app without passing from parent to child component), you name it. I finally realized how much I already knew and I feel really confident talking about this project and code.
File and folder structure
The application consists of a whole bunch of folders, sub-folders, and files. Therefore, I list here only the essential folders/files to give a rough idea of how the structure looks like.
-- src/
---- auth/
---- components/
------ calendar/
------ home/
------ profile/
---- context/
---- languages/
---- utils/
---- views
---- App.js
---- index.css
---- index.js
Authentication
When the web app is launched, the user is shown the home view. To access the profile and calendar view, the user must log in. The authentication form was created using Auth0, an authentication management tool for easy authentication, which allowed me to customize the newly created front-end themes to my personal needs.
In addition, when I implemented authentication with Create-React-App, as suggested in their documentation, a folder and file structure was already specified. This made it easy for me to build on that foundation.
Different views
The app consists of three different views: home, profile, and calendar.
Home view
The home screen is just to introduce the features of the app. And be honest, it's really “kawaii”, isn't it? 😊
Profile view
The profile view starts with a personal greeting realized by retrieving the user's name from the authentication database. The right side displays the number of total entries.
The profile view displays a quote on the left, for which I used the fetchAPI to fetch the data asynchronously. While the code is loading, a loading icon is displayed. In case of an error, an error message informs the user that the quote cannot be displayed.
The user's entries are displayed on the right side. If the list is empty (as in the beginning), a message is displayed that there is nothing in the list. To add an entry, the user presses the plus button and a form appears. The form requires the user to give the day they want to write about an appropriate title, how they felt, set a date, and enter the day's events in the large text box. Clicking the add button displays the entry in the list and the user can write another entry or close the form by clicking the close button in the top left corner.
Clicking on an entry in the list opens the entry and the user can read, edit or delete it. On the left side, the date and the mood are displayed. To close the modal, the user can click on the close button in the top right corner. Through the edit form the user can change the text content, but not the title, date, or mood.
Calendar view
I decided to install the react-calendar which displays a calendar with days of the week, month and year, selected date, etc on the left side of the view. I struggled a bit with the styling and the code in the CSS file needs to be revised, as I know it's not a good habit to use the !important rule.
In the middle of the view, the selected date of the calendar and the current time is displayed. To get the current time, I created a function with useEffect that sets the interval every second and passes it as a component to the calendar view. The "Add Reminder" button allows the user to set a simple reminder by form, which is displayed on the right side of the view. The user can mark the reminder as done or delete it.
Navigation bar and language switch
The navigation bar appears in all three views. Depending on the user status, the "Log in" or "Log out" button is displayed. A logged-in user can switch between the home, profile, and calendar views. A non-logged-in user only has the option to see the home view.
Since Auth0 is known for its ease of implementation, no extra work was needed to connect these pages to the router. (Thanks for that 😘)
The app's logo is displayed on the left side. Below the logo, the user can switch between two languages, English and Japanese. To make this possible, I used the React contextAPI. I also set a default language just in case something doesn't work as expected. The safest way to do this was to set the default language to the window language.
All the data, i.e. the text to switch between English and Japanese, is stored in two separate JSON files (en.json, jp.json) as an object. This data can then be inserted into the component at the desired position via the import of the component in which the context is created (Language.js). There are two different ways to do the import: as a function itself <Text /> or as a constant that uses the context in the component in question.
Since this is a bit confusing to explain simply in a few lines, I will write a separate article on how to create a language selection in React using the contextAPI.
Code and live view
Take a look at the app by clicking here.
Take a look at the GitHub code.
Problems
I've had some issues with deploying the app via Netlify again as with my last Hackathon project. Errors about an incorrect URL or a sudden log-out keep occurring when pressing the back button in the browser. I changed the implementation from BrowserRouter to HashRouter and some errors were solved. Also, the quote was not displayed and the error message occurred. I found that this was because the API was not making a request to a secure HTTP address. I changed the URL and now everything works fine. Everything works fine in development mode with localhost.
In addition, there are two functional problems that I have not been able to solve yet. One would be that I wanted to display only the reminders on the selected date. In the beginning, I had a lot of trouble comparing the two dates (calendar, reminder) because they were of different types. I managed to compare both values using Regex, but the filter function applied after that still didn't work. I will work on that in the next few days.
The other problem I was facing was that I wanted to list the entries on the left side and display their content on the right side when clicking on a particular entry. I was having trouble getting the content to display at a specific position (which is probably because the content component is a child component of the entry component). Also, I could not get the content of the open entry to automatically close when another entry was clicked. I tried setting an active state on the clicked button and working with the value in className, as one would do with hard-coded tabs with content or pagination, but that hasn't worked so far.
Achievements
I've already talked about my achievement several times somewhere in this article. For the first time, it felt like I was working on a project without having to follow the instructions of a tutorial that showed me I could actually do something. I felt like a professional web developer. I created items that could be read, edited, and deleted. I used the fetchAPI and made it retrieve data asynchronously. I've also gotten into the habit of writing articles about my projects, and I'm really enjoying that.
According to the Chrome extension accessibility insights for web, my app meets all accessibility and SEO requirements.
Improvements and what is still missing:
I also want to display the languages via flags instead of the select tag.
When an entry is added, a "Successfully added" message should appear.
I want to display the delete message via modal.
Once the above-mentioned reminder function is working, I would like a notification button to appear in the navbar when a reminder is scheduled for today.
Backend: From the last hackathon until this one I couldn't get any knowledge in the backend, but I will work on it intensively from September on.
I want to connect the app to a database to store all entries and reminders.
I want to send an automatic email reminder on the day of the reminder entry.
Overall reflections
Participating in another hackathon and working on this project has been a lot of fun for me over the past few weeks. Again, the community and support have been great, inspiring, and very helpful - something I'm really enjoying on my journey to becoming a web developer. The excitement and joy I feel when I see the result make me want to continue this journey for as long as possible. This time I have been able to see huge progress in my knowledge, it makes me very happy. Thanks again for this great experience, Auth0 x Hashnode.
Thanks for your reading and time. I really appreciate it!